
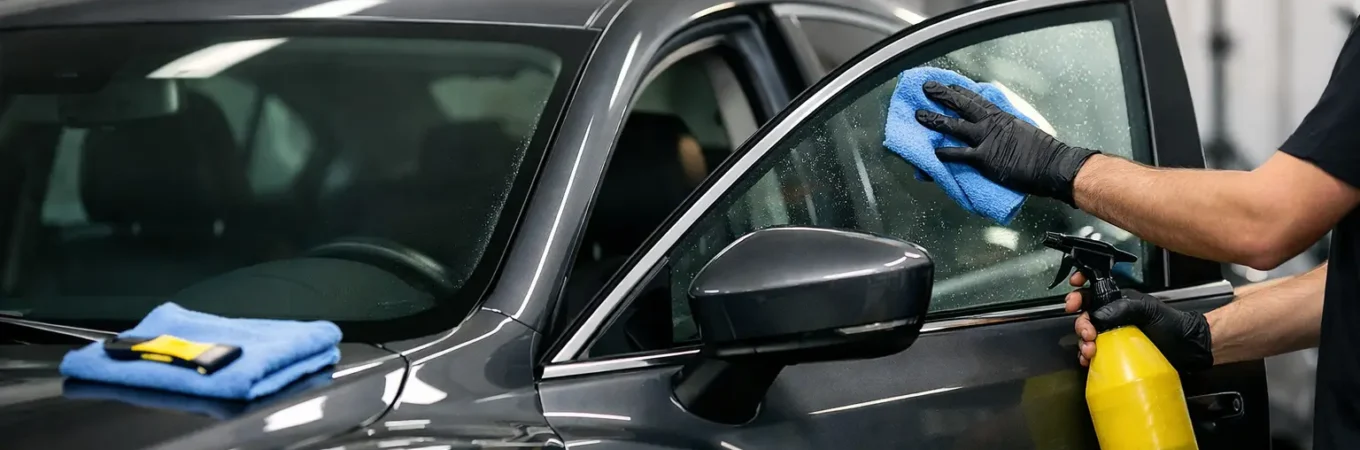
Showing up for a tint appointment with a trunk full of gear, sticky kid fingerprints on the glass, and a wet car fresh out of the wash bay is not the best way to get clean results. If you want the film to lay down properly and the appointment to stay on schedule, knowing how to prepare car for tinting makes a real difference.
Good tint starts before the film ever touches the glass. A professional installer can handle the hard part, but a little prep on your end helps avoid delays, contamination, and frustration. It also makes it easier to inspect the finished job and care for it afterward.
Why preparation matters before tint goes on
Window tint is installed on the inside of the glass, and that means dust, pet hair, moisture, and clutter can all get in the way. Even in a controlled shop environment, debris from your seats, floor mats, and rear deck can float around during installation. The cleaner and more accessible the vehicle is, the smoother the process usually goes.
Preparation also protects your time. If an installer has to spend extra time clearing out cargo, wiping down heavily soiled glass, or working around electronics and accessories, that can slow the appointment down. In some cases, it can limit access to the rear window or side glass and affect the final finish.
How to prepare car for tinting before your appointment
The first step is simple – empty the car. Remove loose items from the front seats, back seats, dashboard, cupholders, and cargo area. If you have groceries, sports gear, tools, strollers, or work equipment in the vehicle, take them out before you arrive.
This matters even more if you are tinting the rear window or getting a full sides-and-rear package. Installers often need room to move around inside the vehicle, fold seats, or access tight areas near the back glass. A packed trunk or rear deck can get in the way fast.
You should also take out anything fragile or valuable. That includes firearms, cash, laptops, cameras, paperwork, and garage door openers if you prefer to keep those with you. A professional shop will treat your vehicle with care, but clearing personal items is still the smart move.
Clean the interior, but do not overdo it
A light interior cleaning helps. You do not need to detail the entire car, but it is worth vacuuming if the cabin is full of lint, pet hair, or dirt. That is especially true if your vehicle sees a lot of daily use or if you regularly drive with dogs.
The rear deck under the back glass deserves extra attention. On many sedans, that area collects dust and fibers that can become airborne during installation. If it looks fuzzy or dirty, a quick vacuum can help reduce contamination.
Where people sometimes go wrong is spraying every window with random glass cleaners right before the appointment. Heavy cleaner residue, ammonia-based products, and paper towel lint are not helpful. If you want to wipe the glass, use a clean microfiber towel and keep it simple. If the windows are especially dirty, let the shop know. They already clean the glass as part of proper prep.
Hold off on the car wash if timing is tight
A clean vehicle is great, but soaking the car right before your appointment is not always ideal. Water can drip from seals, trim, and weatherstripping long after the wash is done. That moisture can interfere with installation, especially around roll-down windows.
If you want to wash the vehicle, do it with enough time for it to dry fully. The day before is usually better than right before you head to the shop. If it rains on the way in, that is one thing. Pulling up with water still trapped in every seal is another.
Things to remove from the windows
If anything is attached to the glass, remove it ahead of time when possible. That includes suction-cup mounts, phone holders, GPS units, temporary shades, and decals that are no longer needed. These items get in the way of cleaning and film placement.
For rear windows, pay attention to brake lights, dash cams, cords, and aftermarket accessories. Some vehicles have equipment mounted in ways that make tint work more difficult. A good shop can tell you what needs to move and what can stay, but if it is easy to remove ahead of time, that helps.
Toll tags and permit stickers are another thing to think about. Some can be reapplied, and some cannot. If your state, workplace, or neighborhood requires a sticker on the windshield, ask where it should go after tinting if windshield film is part of your package.
Child seats, pet barriers, and other common obstacles
If you have car seats installed near the windows being tinted, it is best to remove them before the appointment unless the shop tells you otherwise. The same goes for pet barriers, seat covers that block access, and cargo organizers attached near the rear glass.
This is partly about access and partly about safety. Installers need room to work carefully without forcing tools into tight spaces. If a child seat is locked in right against a door panel, it can make a straightforward install harder than it needs to be.
Do not roll up with window issues and hope for the best
If a window is slow, off track, or not rolling up evenly, mention it before your appointment. Tint film relies on a properly working window system. A faulty regulator, damaged seal, or peeling weatherstrip can create problems during installation or while the film cures.
The same goes for defroster lines on the back glass. If they are already damaged, say so. A professional installer would rather know about an existing issue than have confusion later about what was already there.
Plan for curing time after the install
Part of learning how to prepare car for tinting is planning for what happens after you leave. Fresh tint needs time to cure. During that period, you usually should not roll the windows down for several days. The exact timing can vary depending on weather and film type, but your installer will give you the right instructions.
That means your schedule matters. If you know you will need to use a drive-thru bank tube, hand cash through a cracked window, or load the car with a bunch of passengers who tend to hit switches without thinking, plan around that. Tinting right before a road trip, a muddy camping weekend, or a week of constant door traffic may not be ideal.
You should also expect a little haziness or small water pockets at first. That can be normal while the film dries out. It does not mean the install is failing. Good shops explain what is normal, what is not, and when to call if something looks off.
Should you prep differently for a new car or older vehicle?
Sometimes, yes. A newer vehicle is usually easier because the seals, glass, and trim are in better condition. You still want to remove clutter and accessories, but there are often fewer surprises.
With an older vehicle, prep matters more. Dust behind panels, worn weatherstripping, old sticker residue, and interior materials that shed fibers can all make the job trickier. That does not mean an older vehicle cannot look great with tint. It just means expectations should be realistic if the car has age-related wear around the glass.
If your vehicle has had previous tint removed, mention that too. Old adhesive, defroster damage, or scratches on the glass can affect the finished appearance. A straight answer up front usually saves time and helps the installer recommend the best approach.
What not to do the day of your appointment
Do not apply DIY tint products or temporary films before coming in. Do not use oily interior dressings around the window edges. And do not wait until arrival to start unloading half your trunk in the parking lot if you can help it.
It is also smart not to bring extra people or pets unless necessary. Tint appointments go more smoothly when the vehicle can be checked in, worked on, and kept as clean as possible. Less traffic in and out of the car helps.
If you booked with a professional shop like 865 Tint, the goal is simple – make the vehicle easy to access, keep the interior reasonably clean, and follow the aftercare instructions once the film is installed. That gives you the best shot at a clean finish, better performance, and fewer headaches.
The bottom line on how to prepare car for tinting
You do not need to overthink it. Remove clutter, clear the windows, vacuum if the interior is dusty, and avoid bringing the car in dripping wet. If there is anything unusual about the vehicle, from a bad window motor to old tint residue, say it ahead of time.
A little preparation helps your installer focus on craftsmanship instead of cleanup. And when the process is smoother from the start, you are more likely to leave with tint that looks sharp, performs well, and feels worth every dollar.