
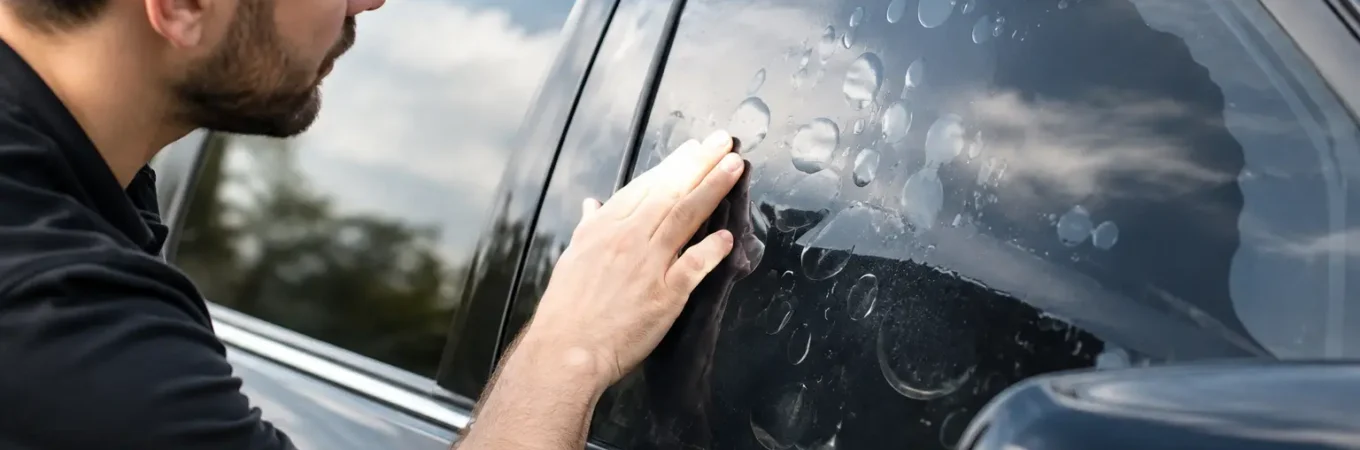
A few small bubbles right after an installation can be normal. Large bubbles, creases, or hazy spots weeks later are not. If you are asking why car tint bubbles appear on your windows, the answer usually comes down to one of two things: the film is still curing, or the bond between the film and glass has failed.
That difference matters. Waiting can solve normal moisture bubbles after a fresh tint job, but waiting will not fix old film that is peeling, contaminated, or breaking down. Knowing what you are looking at can save you from replacing tint that only needs time – or from living with a tint problem that will only get worse.
Why Car Tint Bubbles Show Up After Installation
Window tint is installed with a slip solution that allows the film to be positioned precisely on the glass. During installation, the technician uses a squeegee to push as much moisture and air as possible toward the edges. Even with careful professional work, a small amount of moisture can remain between the glass and film while the adhesive sets.
Those early spots often look like tiny water pockets, slight cloudiness, or a lightly textured appearance. They are most common around the defroster lines on the rear glass, curved windows, and window edges. In many cases, they gradually disappear as the remaining moisture evaporates through the film.
Cure time depends on the weather, the film, and the vehicle. In warm, sunny East Tennessee weather, tint may look clear in several days. During a cool, damp Knoxville stretch, it can take two to four weeks for the film to fully cure. Ceramic films and thicker premium films can also take longer than basic dyed film.
The key is that normal curing bubbles should get smaller over time. They should not spread, turn into large air pockets, or create wrinkles.
What Normal Curing Looks Like
Fresh-tint moisture bubbles are usually small, flat, and scattered. You may notice them only when sunlight hits the window at an angle. The film itself should still lie smoothly against the glass, with no lifting along the edges.
Leave the windows rolled up as instructed after installation, and resist the urge to press on the bubbles. Pushing on new film with a finger, card, or cloth can leave a crease or move moisture into a more visible spot. Let the adhesive cure on its own schedule.
Why Car Tint Bubbles Develop Months or Years Later
Bubbles that appear long after tint installation are a different situation. These are often caused by adhesive failure. As film ages, its adhesive layer can weaken, separate from the glass, and allow air or moisture to get underneath. Once this begins, the bubble will rarely flatten out on its own.
Sun exposure is a major reason older tint fails. Tennessee summers put plenty of heat on a windshield and side glass, especially for vehicles parked outside every day. Lower-quality film may fade, discolor, become brittle, and lose adhesion sooner than a quality carbon or ceramic film.
Poor installation can also cause early bubble problems. Dust, hair, lint, fingerprints, or leftover residue on the glass can interfere with adhesion. If moisture was not properly removed during installation, or if the film was stretched incorrectly, the tint may begin lifting before it has had a chance to last.
Old tint is especially likely to show problems on the rear window. Rear glass gets direct sun, has curved contours, and includes defroster lines that make removal and replacement more delicate. If rear tint has turned purple, brown, or hazy and is now bubbling, the film is likely at the end of its service life.
Air Bubbles, Water Bubbles, and Contamination
Not every imperfection has the same cause. Looking closely can help you decide whether to wait or schedule an inspection.
A water bubble tends to appear as a soft, slightly cloudy pocket soon after installation. It may shrink day by day. An air bubble often has a sharper outline and may look silver or bright when light reflects off it. Air bubbles that remain after the curing period usually point to a bonding issue.
Contamination looks different. A trapped speck of dust, hair, or lint creates a small raised point in the film, sometimes with a tiny ring around it. A few pin-sized specks can be visible in almost any tint installation under close inspection, particularly near window edges. Large particles, clusters of debris, or visible creases are not the standard you should accept from a professional job.
There is also a difference between a bubble in the tint and a defect in the glass. Rock chips, scratches, and old residue can show through film or affect how it lays. An experienced tint installer can tell the difference before recommending repair or replacement.
Can You Fix Tint Bubbles Yourself?
If the tint was installed within the last few days, the best DIY move is usually no move at all. Give it time to cure, keep the windows up, and follow the installer’s care instructions. Parking in a warm, sunny spot can help the curing process, but avoid trying to heat the glass aggressively with a hair dryer or heat gun. Too much heat can distort the film, damage trim, or create a bigger problem.
For older bubbles, online tricks can sound tempting. People may suggest poking a hole in the bubble and pressing it flat. That can release some air for a short time, but it leaves a visible puncture and does not restore failed adhesive. Water, dust, and air can work their way back under the film. The result is often a rough-looking patch that still needs replacement.
Trying to peel and reattach a corner is another common mistake. Once adhesive has lifted or collected debris, the film will not bond back like new. It may wrinkle, crease, or leave glue behind on the glass. Tint is affordable compared with the time and frustration of repeatedly trying to save failing film.
When Tint Needs Professional Removal and Replacement
It is time to have the tint evaluated if bubbles are growing, edges are peeling, the film looks hazy, or discoloration has started. Replacement is usually the cleanest fix when the adhesive has failed, especially on older film.
Professional removal matters because aged tint can come off in layers. The top film layer may peel while adhesive remains stuck to the glass. On rear windows, aggressive scraping can damage defroster lines, leaving you with a clear window but a defroster that no longer works correctly. A careful removal process protects the glass, electronics, and trim before new film goes on.
A proper replacement also starts with thorough glass preparation. Old adhesive, residue, and contaminants must be removed before the new tint is installed. Skipping that step may save time in the moment, but it raises the risk of visible defects and poor adhesion later.
Better Film Helps Prevent Future Bubble Problems
No window film lasts forever, but quality film makes a real difference in how long it stays clear and bonded. Cheap tint may look fine at first, then fade, turn purple, or bubble prematurely under regular sun and heat. Better film is designed to hold its color, resist heat, and maintain adhesion for longer.
The right option depends on your goals and budget. Carbon film is a solid choice for drivers who want privacy, appearance, and dependable performance at an affordable price. Ceramic tint steps up heat rejection and comfort without relying on metal. Higher-end ceramic options can provide stronger infrared heat reduction, clearer visibility, and excellent protection for drivers who spend a lot of time on the road.
Film quality is only half the job. Even premium ceramic tint needs clean glass, careful fitting, and proper installation technique. A skilled installer will help you choose a shade and film tier that fits your vehicle, local tint requirements, and expectations for heat reduction.
How to Care for Fresh Tint So It Cures Cleanly
The first few weeks make a difference. Keep the windows rolled up for the period your installer recommends, especially if the film was applied to roll-down side windows. Avoid cleaning the inside of the glass until curing is complete.
When it is time to clean, use a soft microfiber towel and an ammonia-free automotive glass cleaner. Spray the towel rather than soaking the edge of the tint, then wipe gently. Avoid abrasive pads, razor blades, and harsh chemicals. They can scratch the film or weaken its edges over time.
If you notice a concern during the curing window, take a clear photo in good light and contact the installer. A responsive local tint shop should be willing to explain whether what you are seeing is normal curing or something that deserves an in-person look.
A clean, bubble-free tint job should improve privacy, cut glare, reduce heat, and make your vehicle look finished. If the bubbles are not shrinking after the cure period, do not keep hoping they will disappear. Have the film inspected, get a straightforward answer, and choose a repair that lets you enjoy the drive again.