
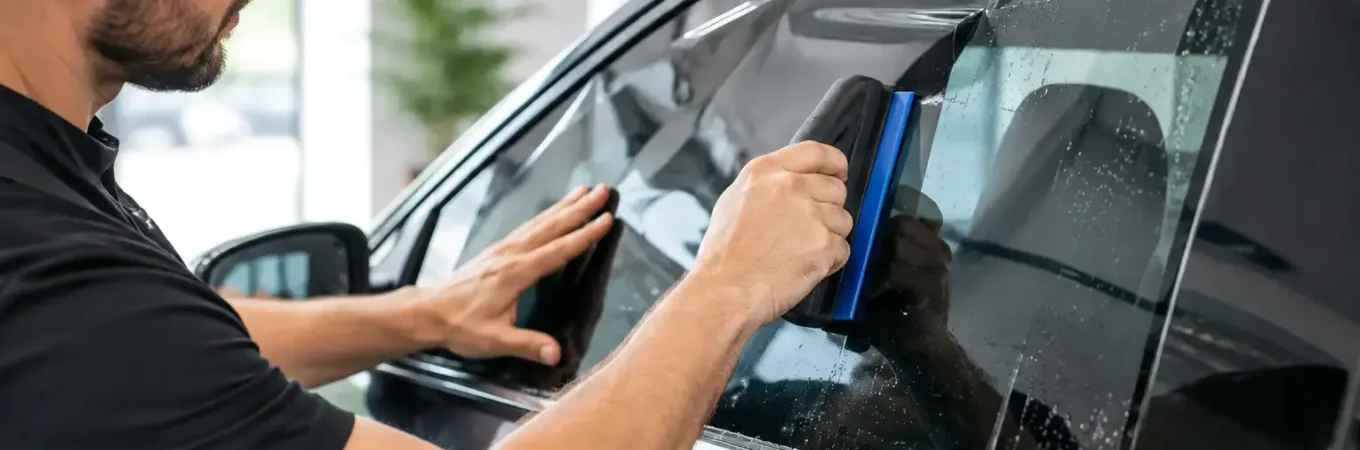
A freshly tinted vehicle should look cleaner, cooler, and more private – not like it has trapped air under the glass. The best way to avoid tint installation bubbles is to understand what causes them before the film ever touches the window. Most lasting bubbles come down to one of three things: contamination on the glass, poor installation technique, or a film that has not been given enough time to cure.
A professional tint job is more than cutting film and applying it with water. It takes careful glass prep, the right tools, controlled handling, and patience during the drying process. That is why the cheapest quote is not always the best value when you want tint that looks good for years.
Why Tint Bubbles Happen
Not every mark you see after installation is a true bubble. Right after tint is applied, small water pockets, light haziness, and tiny specks can be normal. Tint film is installed with a slip solution, then squeegeed tightly against the glass. Some moisture remains between the film and glass while the adhesive sets.
True bubbles are different. They are usually raised areas containing air, dust, lint, hair, or debris. They do not flatten as the film cures, and they can become more noticeable in direct sunlight. A clean installation leaves very little room for contaminants, but it also requires realistic expectations: window tint is applied by hand, not in a sterile factory booth.
Curing time depends on the weather, the type of film, and how much sunlight the vehicle gets. In Knoxville’s warmer months, many windows begin looking clear fairly quickly. During cold, damp weather, moisture can take longer to evaporate. A little cloudiness or small water pockets during the first several days does not automatically mean something went wrong.
How to Avoid Tint Installation Bubbles Before Installation
The condition of the glass matters more than most drivers realize. A window can look clean from the outside while still holding oily residue, old adhesive, dust in the window seals, or cleaning-product buildup. Any of that can interfere with a smooth bond.
Start With Thorough Glass Preparation
Professional preparation means cleaning the glass more than once and paying close attention to the edges, corners, and rubber seals. Technicians use specialized tools to remove debris that can work its way onto the glass during installation. The bottom edge of a roll-down window deserves extra attention because it collects dirt that is easy to miss.
If you are replacing old tint, proper removal is just as important. Leftover adhesive can create uneven spots and make new film look distorted. Removing tint quickly with the wrong tools can also scratch defroster lines or leave a stubborn glue layer behind. A clean, damage-free removal creates the right surface for the next installation.
Choose Quality Film, Not Just the Lowest Price
Film quality affects appearance, durability, and how forgiving the material is during installation. Low-grade film can be harder to shrink, less consistent in thickness, and more likely to fade, peel, or develop adhesive problems over time.
Carbon and ceramic films are popular upgrades because they offer better heat rejection and a more refined finish than basic dyed film. Ceramic options can be especially worthwhile for drivers who want serious infrared heat reduction without sacrificing visibility or signal performance. The right choice depends on your budget, desired shade, and how much time you spend behind the wheel.
A premium film will not make up for sloppy prep, but quality materials give a skilled installer a better foundation for a clean result.
Make Sure the Film Is Properly Cut and Shaped
Vehicle glass is curved, especially rear windshields. Tint film starts flat, so it must be carefully heat-shaped before installation. If the film is not shrunk correctly, fingers and creases can form as it is laid onto the glass. Those areas may trap moisture or fail to sit flat.
A clean pattern also matters. Properly fitted film follows the window shape without bunching into seals or leaving rough, uneven edges. This is one reason an experienced tint shop can save time and frustration compared with a rushed do-it-yourself attempt.
Installation Habits That Prevent Lasting Bubbles
A professional installer works methodically because every rushed step increases the chance of contamination. The glass is cleaned, the film is handled carefully, and moisture is pushed out in controlled passes rather than with random pressure.
The installer should keep the work area as clean as possible and avoid touching the adhesive side of the film unnecessarily. Once the liner comes off, the adhesive can pick up lint, dust, and debris fast. Good technique is about keeping contamination out before it becomes trapped forever.
Squeegee work is equally important. The goal is to remove enough solution for the adhesive to bond while preserving the film’s position during installation. Too little pressure can leave excess moisture. Too much pressure in the wrong spot can crease the film or move debris across the glass. The best results come from consistent pressure, clean tools, and experience reading how the film responds on each window.
For rear glass, technicians also need to protect defroster lines. Aggressive scraping or poor removal methods can damage those lines, while improper installation can leave uneven contact around them. A careful process protects both the look of the tint and the features you use every winter morning.
What to Do After Tint Is Installed
Aftercare has a direct effect on whether your tint cures cleanly. The first few days are when customers are most likely to worry about water pockets that are actually part of normal drying.
Do not roll down the windows until your installer says it is safe. Many shops recommend waiting several days, since lowering a window too soon can catch the film at the edge before it has fully bonded. If your vehicle has automatic windows, use caution around door controls and make sure other drivers know the windows need to stay up.
Avoid pressing, poking, or trying to push out spots yourself. A small moisture pocket may disappear naturally, while a fingernail or hard object can crease the film, leave a permanent mark, or lift an edge. Give the tint time to cure in sunlight when possible.
It is also smart to avoid harsh cleaners immediately after installation. Once cured, use a clean microfiber towel and an ammonia-free glass cleaner. Ammonia can be rough on some films and may shorten the life of the tint over time. Gentle cleaning keeps the film clear without scratching it.
Normal Curing Marks vs. Problems That Need Attention
The difference usually comes down to what is trapped beneath the film and whether it improves with time. Moisture pockets often look like soft, hazy areas or tiny water beads. They tend to shrink as the window dries. In humid or cold conditions, that can take a week or more.
Air bubbles, obvious lint, hair, and large pieces of debris usually do not disappear. Neither do lifted edges, creases, or areas where the film is separating from the glass. If something looks worse after the recommended curing period, contact the installer rather than trying to repair it at home.
A reputable local shop should be clear about what normal curing looks like and willing to inspect a concern. At 865 Tint, that customer-first approach matters because a tint job should feel like an upgrade from the moment you see your vehicle – and continue looking right after the film has fully cured.
Is DIY Tinting Worth the Risk?
DIY kits can work for someone with patience, the right tools, a clean indoor space, and practice on less visible glass. They may be appealing for a tight budget or a project vehicle. But the trade-off is simple: film mistakes are easy to make and expensive to redo.
Most first-time problems happen because the glass was not cleaned deeply enough, the film was cut poorly, or the installer did not know how to shrink and squeegee a curved window. A kit also may not offer the heat reduction, clarity, or warranty support of professionally installed carbon or ceramic film.
For daily drivers, new vehicles, and cars you plan to keep, professional installation is often the better value. You get a cleaner finish, the right film for your goals, and a shop that can answer questions while the tint cures.
The easiest way to protect your investment is to choose an installer who treats prep work and aftercare as part of the job, not as extras. Give the film time to settle, keep the windows up as directed, and let a trained technician handle anything that does not improve after curing.