
Tint film can peel away cleanly, then leave behind a cloudy, sticky layer that collects dust and makes the glass look worse than before. Knowing how to remove tint glue safely matters because the wrong tool or cleaner can scratch glass, damage rear defroster lines, stain interior trim, or turn a simple tint removal job into an expensive repair.
The right method depends on where the adhesive is sitting. Flat side glass is usually forgiving. A rear windshield with defroster lines needs patience. Residential glass may have wood trim, seals, or nearby flooring that should not get soaked. Start with the least aggressive option, work in small sections, and let heat and cleaner do most of the work.
What tint glue is and why it is hard to remove
Window tint adhesive is designed to hold through heat, moisture, sunlight, and years of daily use. When old tint dries out or is pulled off quickly, the film can separate from the adhesive layer. That leaves glue bonded directly to the glass.
Fresh residue may feel soft and tacky. Older adhesive can look brown, purple, or hazy and may come off in thin rolls instead of wiping away. Heat helps soften either type, but old glue usually needs a cleaner and careful scraping as well.
For vehicle windows, the biggest difference is the rear glass. Defroster lines sit on the inside surface of the window and can be damaged by a razor blade or aggressive scrubbing. Treat that glass differently from door windows.
Tools to gather before removing tint glue
You do not need a specialty shop full of equipment, but having the right supplies keeps the job cleaner and safer. Use a spray bottle with warm, soapy water or an automotive-safe adhesive remover, microfiber towels, a plastic scraper, paper towels, and gloves.
A handheld steamer can make the work much easier, especially on old tint residue. For flat automotive side windows and some residential glass, a new single-edge razor blade can be useful. Keep blades away from rear defroster lines, antenna lines, plastic trim, and any glass with coatings you are unsure about.
Protect the area first. Put towels along the bottom of a car door panel and across the rear deck beneath the back glass. For a home or business window, cover painted trim, carpet, and flooring before applying cleaner. Adhesive remover that works well on glass can still leave a mark on some plastics, vinyl, paint, or finished wood.
How to remove tint glue from car windows
Start by parking in a shaded, well-ventilated area. Direct summer sun can help soften adhesive, but it also causes cleaners to dry too quickly. A controlled workspace gives you more time to work without streaks and runoff.
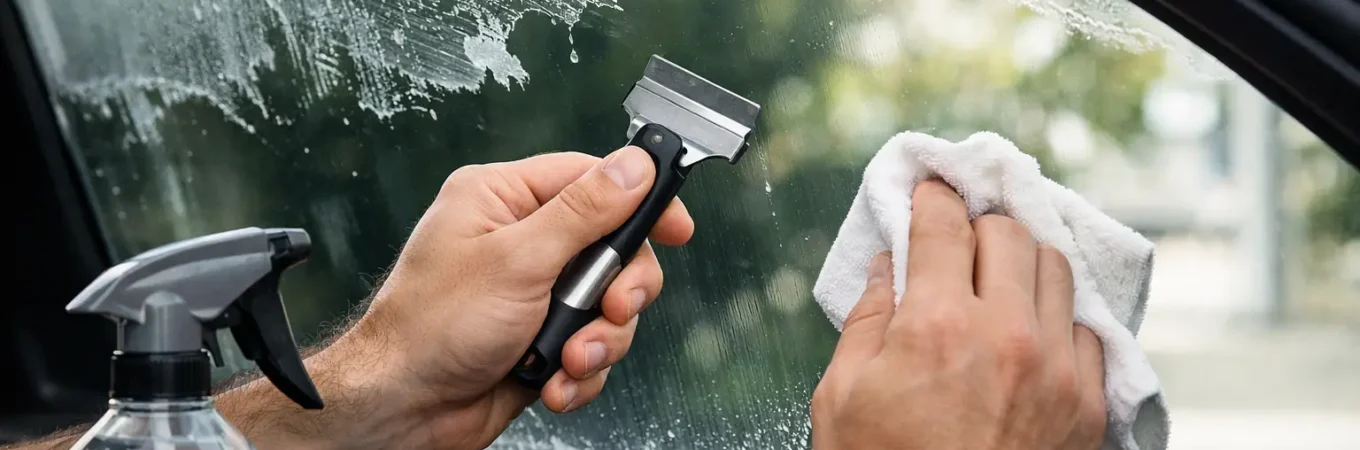
Spray a small section of glue with warm soapy water or a product made for adhesive removal. Let it sit for two to five minutes. The goal is not to flood the door panel. You want the residue wet enough to loosen, not dripping into switches, speakers, or weather stripping.
On a front or rear door window, hold a plastic scraper nearly flat against the glass and push gently. Wipe the scraper often so softened glue does not smear back onto the window. If adhesive remains, apply more cleaner and repeat rather than pressing harder.
For stubborn residue on plain side glass, a razor blade may speed things up. Keep the glass wet, use a fresh blade, and hold it at a low angle. Never scrape dry glass. A dry blade can leave fine scratches that become obvious in sunlight, especially on dark-tinted or curved windows.
Once the glue is gone, wipe the area with a clean microfiber towel and glass cleaner. Roll the window down slightly and clean the top edge too. That narrow strip often holds residue that shows up after the window is rolled down for the first time.
Be extra careful on rear windshields
Rear windshield tint removal is where many DIY jobs go sideways. Defroster lines are thin conductive strips attached to the inside of the glass. Scraping across them with a blade can cut or lift the line, leaving part of the defroster unusable.
Use steam or a warm, damp towel to soften the remaining glue. Apply your cleaner, let it dwell, then wipe in the same direction as the defroster lines with a microfiber towel or soft non-abrasive pad. Work slowly and avoid digging at a stubborn spot with a sharp tool.
If the adhesive is baked on, professional removal is often the better value. Replacing or repairing damaged defroster lines can cost more than having the old film and glue removed correctly in the first place.
Removing glue from residential or commercial windows
The same basic approach works on property glass, but test your cleaner first in a small, hidden area. Some windows have low-emissivity coatings, decorative films, security film layers, or specialty glazing that should not be scraped without confirming what is on the glass.
Warm soapy water and a plastic scraper are a good starting point. Spray one manageable section, wait a few minutes, then lift residue with light pressure. For bare, uncoated glass, a razor scraper can work well when the surface stays lubricated.
Avoid soaking window frames, especially wood frames or older seals. Instead of spraying heavily, apply cleaner to a towel and press it onto the adhesive for a minute. This gives the glue time to soften while keeping liquid under control.
If the old film was installed for privacy, glare reduction, or heat control, do not rush to replace it with a bargain product after removal. The film type and installation quality both affect appearance, durability, and how easily the tint can be removed years later.
Common mistakes that make glue removal harder
The fastest-looking method is not always the safest one. Pulling tint off in one dry, hard yank often leaves more adhesive behind. It can also pull at defroster lines on rear glass.
Avoid these common mistakes:
- Using a razor blade on rear windshield defroster or antenna lines.
- Scrubbing with steel wool, abrasive pads, or dry paper towels.
- Letting chemical cleaner run into door panels, switches, speakers, or trim.
- Using strong solvents without testing them near plastic, paint, rubber, or wood.
- Trying to remove all residue in one pass instead of reapplying cleaner and allowing dwell time.
Another mistake is assuming every haze is glue. Sometimes the issue is leftover tint film, a hard-water deposit, or scratches that were hidden by the tint. If the window still looks cloudy after cleaning, inspect it from both sides in bright light before applying more chemicals.
When professional tint removal makes sense
DIY glue removal can be practical for small areas on plain glass. It becomes less appealing when you are dealing with a rear windshield, a large SUV, brittle purple tint, or adhesive that has baked in the Tennessee heat for years.
A tint specialist has steam equipment, safe removal products, and experience working around delicate trim and defroster lines. Professional service is also useful if you plan to install new tint right away. The glass must be completely clean before new film goes on, or leftover adhesive can create visible contamination and poor adhesion.
At 865 Tint, removal is handled with the same attention to clean, damage-free results as a new tint installation. That matters whether you are refreshing a daily driver, correcting an old tint job, or preparing glass for a higher-performing carbon or ceramic film.
A cleaner finish is worth the extra patience
Tint glue removal is mostly a patience job. Use heat when you can, keep the adhesive wet, choose plastic tools before sharp ones, and slow down around rear glass. A clear window without scratches, streaks, or damaged defroster lines will always look better than a fast removal that leaves problems behind.