
Old window tint rarely starts out looking bad all at once. It may begin with a small bubble near the edge of a rear window, a purple color change on one door, or glare that suddenly feels worse on the drive home. The vehicle tint removal process explained properly is more than peeling film off glass. Done carelessly, it can leave behind stubborn adhesive, scratch glass, or damage rear defroster lines that are expensive to repair.
For Knoxville drivers, professional tint removal is often the cleanest way to refresh an older vehicle, correct a poor previous installation, or get ready for a new tint package. Here is what actually happens during the process and why the details matter.
Why vehicle tint needs to be removed
Most automotive tint does not last forever. Lower-quality dyed film can fade or turn purple, especially after years of Tennessee sun. Older film can also bubble, crack, haze, or separate around the edges. Sometimes the tint itself is fine, but the shade no longer fits what you want from the vehicle.
Removal is also common before installing a better film. If you are upgrading from basic film to carbon or ceramic tint, the old material has to come off completely. Tint should be installed directly on clean glass, not over an existing layer. Stacking film can create distortion, trap contamination, and make future removal even harder.
There are practical reasons, too. A damaged rear window tint can interfere with visibility, particularly at night or in the rain. Tint that is too dark for your needs may also make backing up and checking mirrors more difficult. Starting over gives you a chance to choose a shade and film type that better matches how you drive.
The professional vehicle tint removal process
A clean removal starts with an inspection. A tint specialist checks the age and condition of the film, where it is installed, and how much adhesive is likely to remain. Side windows are usually more straightforward than rear glass. The rear window requires extra care because the defroster lines sit directly under the tint.
Step 1: Loosening the old film
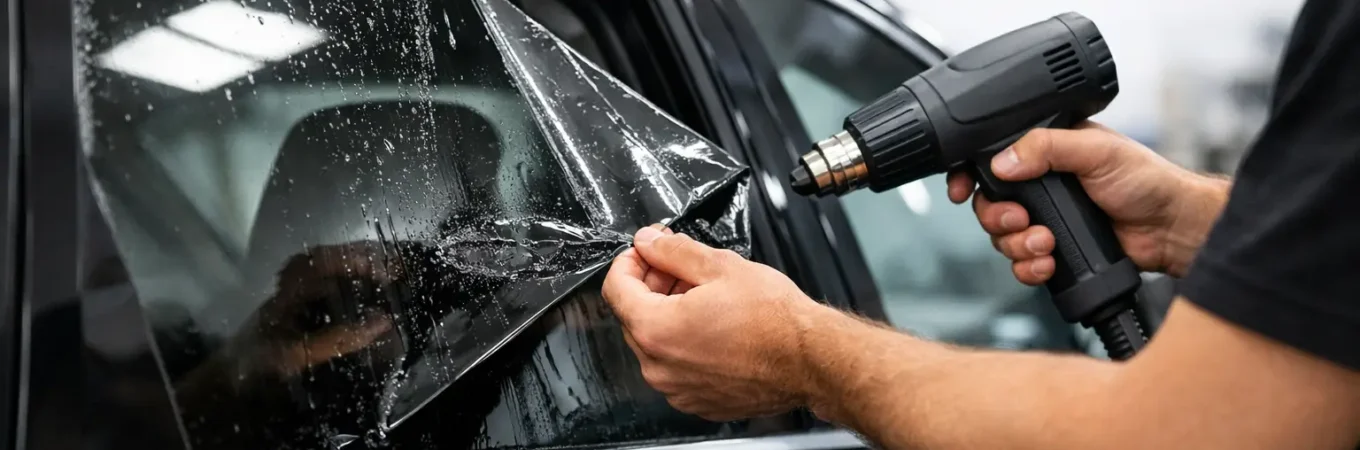
Professionals use controlled heat to soften the film and its adhesive. The goal is to lift the tint in larger sections instead of tearing it into dozens of small pieces. When film comes off in one piece, there is usually less adhesive left behind and less time spent scraping.
Heat must be managed carefully. Too little heat makes the tint brittle and difficult to remove. Too much heat can create problems around trim, seals, electronics, or rear glass. This is one reason a household hair dryer and a few minutes of DIY effort can turn into an all-day job.
Step 2: Peeling without pulling on defrosters
Once an edge is lifted, the film is pulled slowly at the right angle. On door glass, the focus is on keeping the pull even and protecting the window seals and interior trim. On the rear windshield, the technique changes because of the defroster grid.
Rear defroster lines are thin conductive strips attached to the glass. Aggressive scraping or pulling against a stubborn edge can break them. A damaged line may leave part of the rear glass without defrosting, and repairing it is not always simple. Professional removal is especially worthwhile when the rear tint is old, heavily bubbled, or has been installed for many years.
Step 3: Removing adhesive from the glass
The film is only half the job. After it comes off, adhesive can remain as a cloudy, sticky layer. It attracts dust, smears when cleaned, and prevents a new tint installation from bonding correctly.
A technician uses tint-safe cleaning products, moisture, and careful blade work when appropriate to release the residue. Glass is cleaned section by section until it is clear and smooth. This step takes patience. Rushing it can leave small patches of glue that may not be obvious until sunlight hits the window or new tint is installed.
The tools and direction of the blade matter. Automotive glass can handle proper cleaning, but surrounding materials cannot. Care is needed around rubber seals, plastic panels, speakers, and rear defroster lines. The goal is not simply to make the glass look clean. It needs to be truly residue-free.
Step 4: Final cleanup and inspection
After the adhesive is removed, the windows are cleaned again and inspected in different lighting. This helps catch film fragments around edges, haze left from glue, or debris that could affect a new installation. If you are replacing the tint the same day, proper prep makes the new film look smoother and last longer.
A quality shop also checks window operation after working on roll-down windows. Nothing should bind in the seals or get caught around the edge of the glass. Clean removal should leave your vehicle ready for the next step, whether that is fresh tint or simply clear windows.
Why DIY tint removal can get complicated
There are DIY methods that use heat, steam, soap, or plastic scrapers. On newer tint that is still flexible, a patient vehicle owner may be able to remove film from a side window with decent results. But the trade-off is time, mess, and risk.
The problems usually start when the film separates from the adhesive. Instead of peeling away cleanly, the top layer tears while glue stays behind. That residue can take much longer to remove than the actual film. Older purple tint, bubbling film, and cheap film are often the worst offenders because they tend to break apart.
Rear glass is where we recommend thinking twice before doing it yourself. Using a razor blade across defroster lines can damage them. Harsh chemicals can stain trim or create fumes inside the vehicle. Excessive heat can affect components near the glass. Saving money on the removal is not always a win if it leads to a non-working defroster or a vehicle that needs extra cleanup before retinting.
How long does tint removal take?
It depends on the vehicle and the condition of the tint. A relatively new side-window tint job may come off quickly. A full vehicle with old, bubbling film and heavy adhesive can take considerably longer, especially when the rear windshield is involved.
The film type, how long it has been on the car, exposure to direct sun, and the quality of the original installation all affect labor time. A vehicle with tint that has been baked by years of summer heat will generally require more work than one with newer film. A professional inspection is the best way to get an accurate expectation before scheduling removal and replacement.
If you are planning new tint, it is smart to ask whether removal and installation can be handled in one appointment. In many cases, that is the most convenient option because the glass is already being fully prepared. It also means you leave with one clean, finished result instead of driving around with adhesive-free but untinted windows between appointments.
Choosing new tint after removal
Removing bad tint gives you a clean slate, but it also gives you an opportunity to choose film based on what matters most. If appearance and privacy are the priority, a quality carbon film can be a strong value. If heat reduction and comfort matter more, ceramic options are worth considering. Ceramic IR and higher-end ceramic films are designed for drivers who spend a lot of time in the car and want greater infrared heat rejection without simply choosing the darkest shade.
Darkness is not the same as heat control. A very dark basic tint can look good while doing less to manage cabin heat than a lighter premium ceramic film. That is why discussing your driving habits, the windows you want tinted, and your budget matters before selecting a product.
At 865 Tint, the focus is on removing old film cleanly and helping Knoxville-area drivers move forward with a tint option that fits their vehicle and priorities. Whether you need a single rear window corrected or a full tint refresh, the best result begins with glass that has been properly cleaned and prepared.
If your tint is bubbling, fading, or making it harder to see clearly, do not wait until it becomes a bigger headache. A professional look starts with a clean removal, and it gives you the freedom to make the next tint decision with confidence.