
That cloudy, foggy look behind your window tint can be frustrating, especially when you just paid to improve your vehicle’s appearance, privacy, and heat reduction. The good news is that learning how to fix tint haze starts with identifying what you are actually seeing. Some haze is a normal part of the curing process. Other haze points to trapped contamination, aging film, adhesive failure, or a problem that needs professional attention.
Trying to scrub, heat, or peel the tint before you know the cause can turn a fixable issue into damaged film or scratched glass. Here is what Knoxville drivers should know before taking action.
First, Determine Whether Tint Haze Is Normal
Freshly installed window film is applied with a mounting solution. After installation, that moisture needs time to evaporate through the film and adhesive. During that period, the tint may look hazy, slightly milky, or uneven when sunlight hits it.
This is usually normal, particularly on darker films and large rear windows. You may also notice small water pockets or a lightly textured appearance. In East Tennessee, weather matters. Warm, sunny days can help film cure faster, while cold, rainy, or humid conditions can make the process take longer.
Most automotive tint clears in a few days, but full curing can take two to four weeks. Ceramic films and thicker premium films may take a little longer depending on the season and the vehicle’s glass.
If the tint was installed recently and the haze is gradually improving, the best fix is patience. Keep the vehicle in normal use, park in indirect or direct sunlight when practical, and avoid rolling the windows down until your installer’s recommended wait time has passed.
How to Fix Tint Haze From Normal Curing
For new tint, there is rarely a product or cleaning trick that will speed up haze safely. The moisture is beneath the film, not on the surface of the glass. Cleaning the window will not remove it, and pressing hard on the film can leave marks or create edge lift.
Let the film cure naturally. Avoid these common mistakes:
- Do not use a hair dryer, heat gun, or space heater directly on the glass.
- Do not poke bubbles or water pockets with a pin, blade, or needle.
- Do not rub the haze aggressively with a towel or squeegee.
- Do not apply ammonia-based glass cleaner to newly installed tint.
A small moisture pocket that remains after the rest of the window clears may need an installer to inspect it. But during the normal curing period, hands off is often the right answer.
When Tint Haze Is Not a Curing Issue
Haze that appears months or years after installation is different. A vehicle can develop a cloudy look because the film is aging, the adhesive is breaking down, or dirt and moisture have entered at an edge. In those cases, waiting will not solve the problem.
The appearance of the haze gives you useful clues. A foggy film across most of the window may signal adhesive deterioration. White or gray spots near the edges can mean the film is lifting and allowing contamination underneath. A purple tint, bubbling, or a rough, speckled texture often means the film has reached the end of its service life.
Low-quality dyed film is more likely to fade, discolor, and fail early, particularly in a vehicle that spends a lot of time parked in the sun. Quality carbon and ceramic options generally hold their color and clarity better, but even premium film can fail if it is old, damaged, or installed over contaminated glass.
Clean Surface Haze the Safe Way
Sometimes what looks like tint haze is simply residue on the outside or inside surface of the window. Interior glass can collect smoke residue, dashboard vapor, fingerprints, and cleaning-product buildup. Exterior glass can pick up hard-water spots, road grime, and wax overspray.
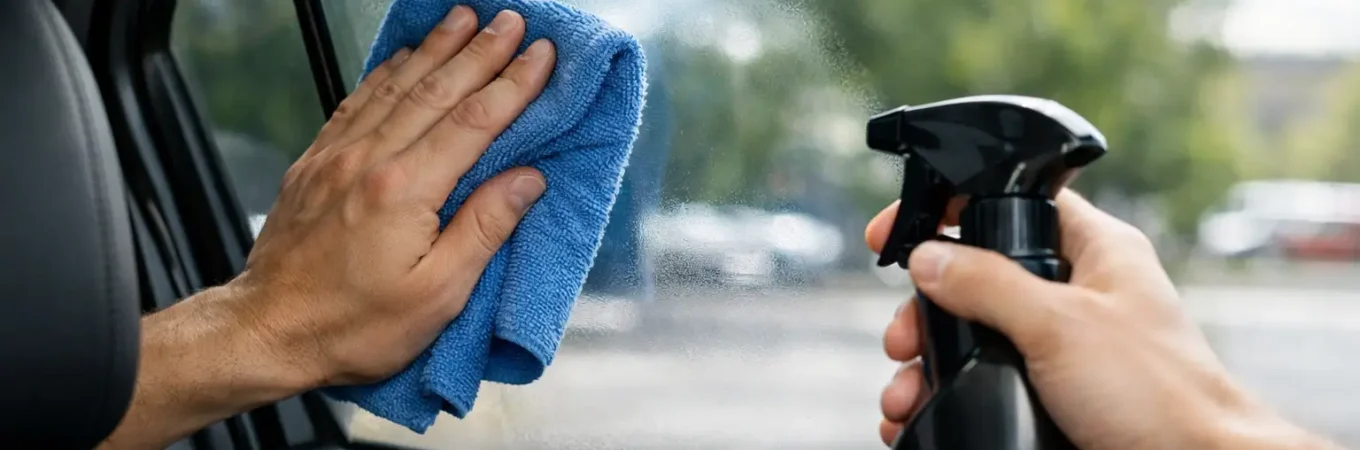
Start by cleaning gently with a tint-safe, ammonia-free glass cleaner and a clean microfiber towel. Spray the towel rather than soaking the window, especially near the lower edge of the glass. Wipe in one direction, then use a second dry microfiber towel to buff away streaks.
If the haze disappears when the glass is wet but comes back as it dries, you may be dealing with surface residue. If the haze remains visibly beneath the film, cleaning will not correct it.
Avoid abrasive pads, razor blades, and harsh solvents on tinted interior glass. A blade can cut the film, and aggressive chemicals can damage the tint’s protective coating or adhesive. Rear windows need extra care because scraping can damage the defroster lines.
Check Both Sides of the Glass
Before assuming the tint itself has failed, inspect the window from inside and outside the vehicle. A cloudy windshield, side window, or rear glass can have contamination on either surface. Look at the glass in direct sunlight and at an angle. Surface buildup usually changes as you move around the window. Haze trapped beneath film tends to stay in the same place.
This simple check can save you from replacing tint that is still in good shape.
Can You Repair Hazy Window Tint Yourself?
It depends on the cause. You can safely handle light surface residue with the right cleaner and microfiber towels. You can also give new tint enough time to cure. Beyond that, DIY repairs are limited.
If a corner is lifting, it may be tempting to glue it back down. That almost never creates a clean, lasting result. Once dust, lint, or moisture gets behind the film, pressing the edge down only seals the contamination in place. The same applies to bubbles caused by failing adhesive. They may flatten temporarily, but they usually return.
A professional may be able to address a small edge issue if it is caught early. When haze is widespread, replacement is usually the cleaner and more affordable long-term choice. Good removal matters because old film can leave adhesive behind, and improper removal can damage rear defroster lines or scratch glass.
When to Schedule a Tint Inspection
It is time to have the tint looked at if haze has not improved after the expected curing period, shows up long after installation, spreads over time, or comes with bubbling, peeling, discoloration, or streaks beneath the film.
You should also schedule an inspection if the problem is on the rear window. Rear glass is more difficult to work with because of defroster lines, and DIY removal can create a bigger repair bill than a professional tint removal service.
At 865 Tint, the goal is not to sell you a replacement before checking the cause. A proper inspection can separate normal curing from failed film, surface residue, or installation-related concerns. If replacement is needed, choosing a quality carbon or ceramic film can improve clarity while delivering the privacy, UV protection, glare reduction, and heat control you wanted in the first place.
Prevent Tint Haze From Coming Back
The best prevention starts with quality film and careful installation on properly cleaned glass. After installation, follow the care instructions, allow the film to cure, and use ammonia-free cleaner for routine maintenance. A microfiber towel is enough for most cleaning jobs, and frequent light cleaning is better than letting residue build up for months.
For older vehicles, watch for early signs of failure instead of waiting until the tint is purple, bubbled, and difficult to see through. Replacing deteriorating film early keeps your vehicle looking cleaner and makes the removal process more straightforward.
Clear tint should look like it belongs on the vehicle, not like there is a layer of fog trapped in the glass. Give fresh film time, clean only what is on the surface, and let a tint specialist handle haze that lives beneath the film.