
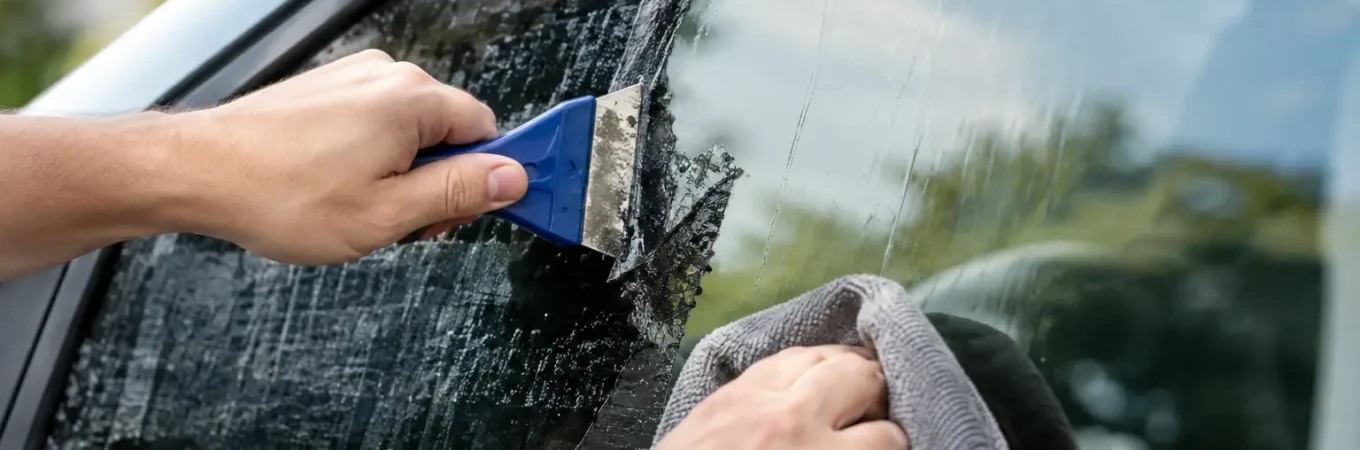
Old window tint can look rough long before the film fully comes off. Purple discoloration, bubbling, peeling edges, and hazy rear glass are all signs that it may be time to remove tint adhesive along with the old film. The film is usually the easy part. The sticky layer left behind is what turns a simple project into a long afternoon – and, if handled carelessly, can damage defroster lines, scratch glass, or leave a smeared finish.
For Knoxville drivers and property owners, the right approach depends on the type of glass, the age of the tint, and where the adhesive is located. A small side window is one thing. A rear windshield with defroster lines or a large commercial storefront requires more patience and a different set of tools.
Why Tint Adhesive Is So Hard to Remove
Window film uses a pressure-sensitive adhesive designed to stay put through heat, cold, moisture, and daily cleaning. As the tint ages, sun exposure can break down the film while the glue remains firmly attached to the glass. That is why peeling off old tint often leaves behind a cloudy, tacky residue.
The biggest mistake is treating adhesive removal like regular glass cleaning. Household glass cleaner may help with light residue, but it rarely breaks down old tint glue effectively. Scrubbing harder can create scratches or damage the thin electrical lines on a rear windshield.
Heat is usually what makes the difference. It softens the adhesive so it can release from the glass instead of being scraped off in tiny pieces. The goal is not to rush the job. The goal is to lift the film and glue cleanly while protecting the surface underneath.
What You Need to Remove Tint Adhesive Safely
For a basic side window, use a hair dryer or heat gun on a low setting, a spray bottle with warm soapy water, microfiber towels, a plastic scraper, and a glass-safe adhesive remover. A razor blade can be useful on flat exterior or side-window glass, but only when used carefully and never on rear defroster lines.
Avoid aggressive abrasive pads, metal tools used at a steep angle, and harsh solvents that can affect interior trim, rubber seals, paint, or nearby plastic. If you use an adhesive remover, apply it to a towel or the glass in a controlled area rather than soaking the entire door panel.
Before starting, protect the interior. Place towels along the bottom edge of the glass and over door panels, speakers, dashboards, or trim. Liquid can run into window switches and electronics quickly, especially on vehicle doors.
How to Remove Tint Adhesive From Side Windows
Start by heating one small section of the remaining tint or adhesive. Keep the heat moving. Holding a heat gun in one spot can overheat glass, trim, or seals. A hair dryer takes longer but gives most DIY users more control.
If film is still on the window, gently lift a corner with a plastic scraper or fingernail. Pull the film slowly at a low angle while applying heat ahead of the area you are lifting. Pulling straight away from the glass tends to leave more glue behind. Pulling low and steady gives the adhesive a better chance of releasing with the film.
Once the film is removed, spray the remaining adhesive with warm soapy water or a glass-safe adhesive remover. Let it sit for a few minutes. Then use a plastic scraper to push softened residue toward the edge of the glass. Wipe the scraper often so you are not dragging glue back across the window.
For stubborn spots on a standard side window, a new razor blade held nearly flat against wet glass can remove residue efficiently. Use light pressure and short strokes. Never use a blade on dry glass, and stop if you feel grit under the blade. A single piece of debris can leave a visible scratch.
Finish by wiping the glass with a clean microfiber towel and a quality glass cleaner. Check the window from both inside and outside. Adhesive streaks can be hard to see until sunlight hits the glass at an angle.
Rear Windshields Need a Different Method
Rear glass is where DIY tint removal becomes risky. Most vehicles have defroster lines, antenna elements, or both. These thin lines can be damaged by razor blades, hard scraping, or pulling old film too aggressively. Once a defroster line is broken, repair may be possible, but it is rarely as clean or dependable as leaving it intact.
Use heat and moisture first. Warm the film gradually, lift a corner carefully, and pull slowly. If the tint separates into layers, do not keep yanking at it. That usually leaves the adhesive layer behind and increases the chance of damaging the lines.
For glue left on rear glass, use a soft cloth with an adhesive remover approved for automotive glass. Work in small sections and rub gently in the direction of the defroster lines, not across them. A plastic card wrapped in a microfiber towel can help lift softened glue without direct scraping.
If the film is baked on, bubbled heavily, or peeling in strips, professional removal is often the smarter choice. The cost of a proper tint removal is usually far less than replacing rear glass or dealing with non-working defrosters during a Tennessee winter morning.
Removing Adhesive From Home or Business Windows
Property windows can be easier or harder than automotive glass depending on the film and glass type. Flat panes without defroster lines are generally more forgiving, but some insulated windows, low-emissivity coatings, and older glass require extra care. A tool or chemical that works well on one pane may not be right for another.
For small areas of residue, warm soapy water, a plastic scraper, and a microfiber towel may be enough. For larger residential or commercial windows, work in sections so cleaning solution does not dry before the adhesive softens. Keep floors, window sills, and nearby furniture protected from runoff.
Do not assume a razor blade is safe just because the glass is flat. Some windows have coatings that can be scratched or damaged, and glass may contain flaws that are not obvious until pressure is applied. When the window film is old, decorative, security-rated, or installed on a large bank of glass, professional removal can prevent costly mistakes.
Common Mistakes That Make Adhesive Removal Worse
The first mistake is peeling tint when it is cold and dry. This almost guarantees that the film separates from the adhesive. The second is reaching for a blade before softening the glue. Scraping dry residue takes longer and raises the risk of scratches.
Another issue is using too much heat. Glass can handle normal warming, but extreme, concentrated heat can stress it. Keep the heat source moving and stay especially careful near edges, weatherstripping, and plastic trim.
Finally, do not reinstall new tint over adhesive residue. Even a thin leftover layer can cause poor adhesion, visible contamination, bubbles, and an uneven finish. Clean glass is the foundation of a clean tint job.
When Professional Tint Removal Is Worth It
DIY removal makes sense when you have a small side window, light adhesive residue, and the time to work patiently. It is less appealing when the rear windshield is involved, the tint has deteriorated badly, or you want new film installed right after removal.
A professional tint shop has the tools, heat control, cleaning products, and experience to remove old film without cutting corners. At 865 Tint, professional removal is handled with the same care used for new installations, with attention to clean glass and protecting the vehicle surfaces around it.
If you plan to upgrade your tint after removal, it also helps to choose the film based on how you use the vehicle. Carbon film can be a practical, affordable option for appearance and privacy. Ceramic options are better suited for drivers who want stronger heat reduction and UV protection, especially on vehicles that spend long hours parked outside.
Old adhesive does not need to become a permanent eyesore or a risky weekend project. Work slowly, use heat before force, and protect the glass underneath. When the job involves defroster lines, expensive property glass, or a fresh tint upgrade, choosing experienced help can keep the result clean from the first pull to the final wipe.